
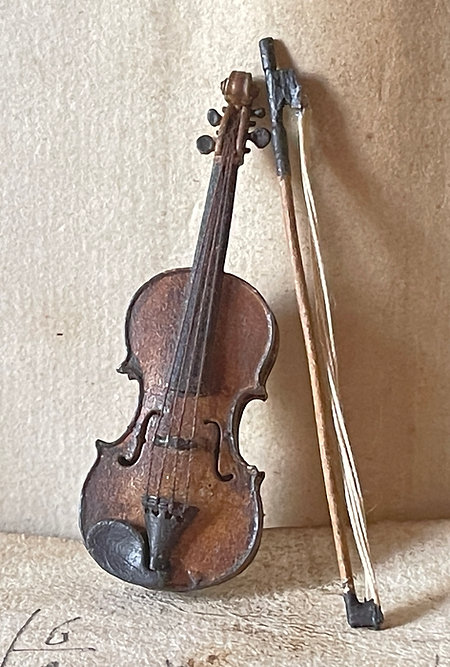
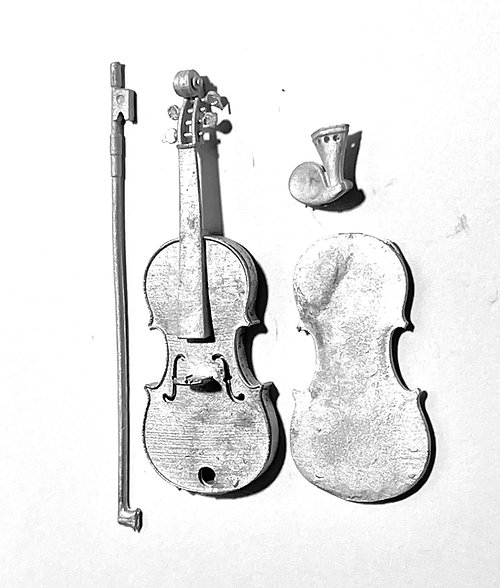
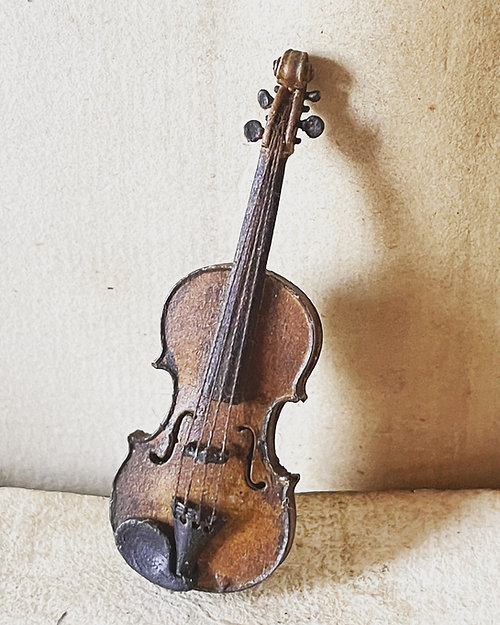
This 12th scale Violin kit comes in 4 sections; the back, front, chin rest and bow. It is very easy to assemble but if you wish to 'string' the violin it is relatively easy if you use a needle and fine cotton thread.
There are no instructions for the 'stringing' but here is a way to do it:
- Cut 4 lengths of fine thread (brown or black).
- Thread each one up through the hole at the bottom of the vioin front and then through the rear of the chin rest and out through the front of the chin rest. Each thread will need to pass through a different hole - there are 4 in total.
- Glue the threads to the rear of the violin front to secure them and then pull the threads across the front of the violin travelling over the bridge (the sticking up bit) so they splay evenly. Thread the 4 threads through the top hole at the top of the violin keys and out through the back. Glue them down and cut off excess. If you wish you could glue each thread to each key! To thread them through the hole at the top I used a thread threader but a fine piece of wire folded and pushed from the back to the front of the hole would work - you then thread the thread through the metal loop and then drawer back the metal loop through the hole taking the cotton thread with it.